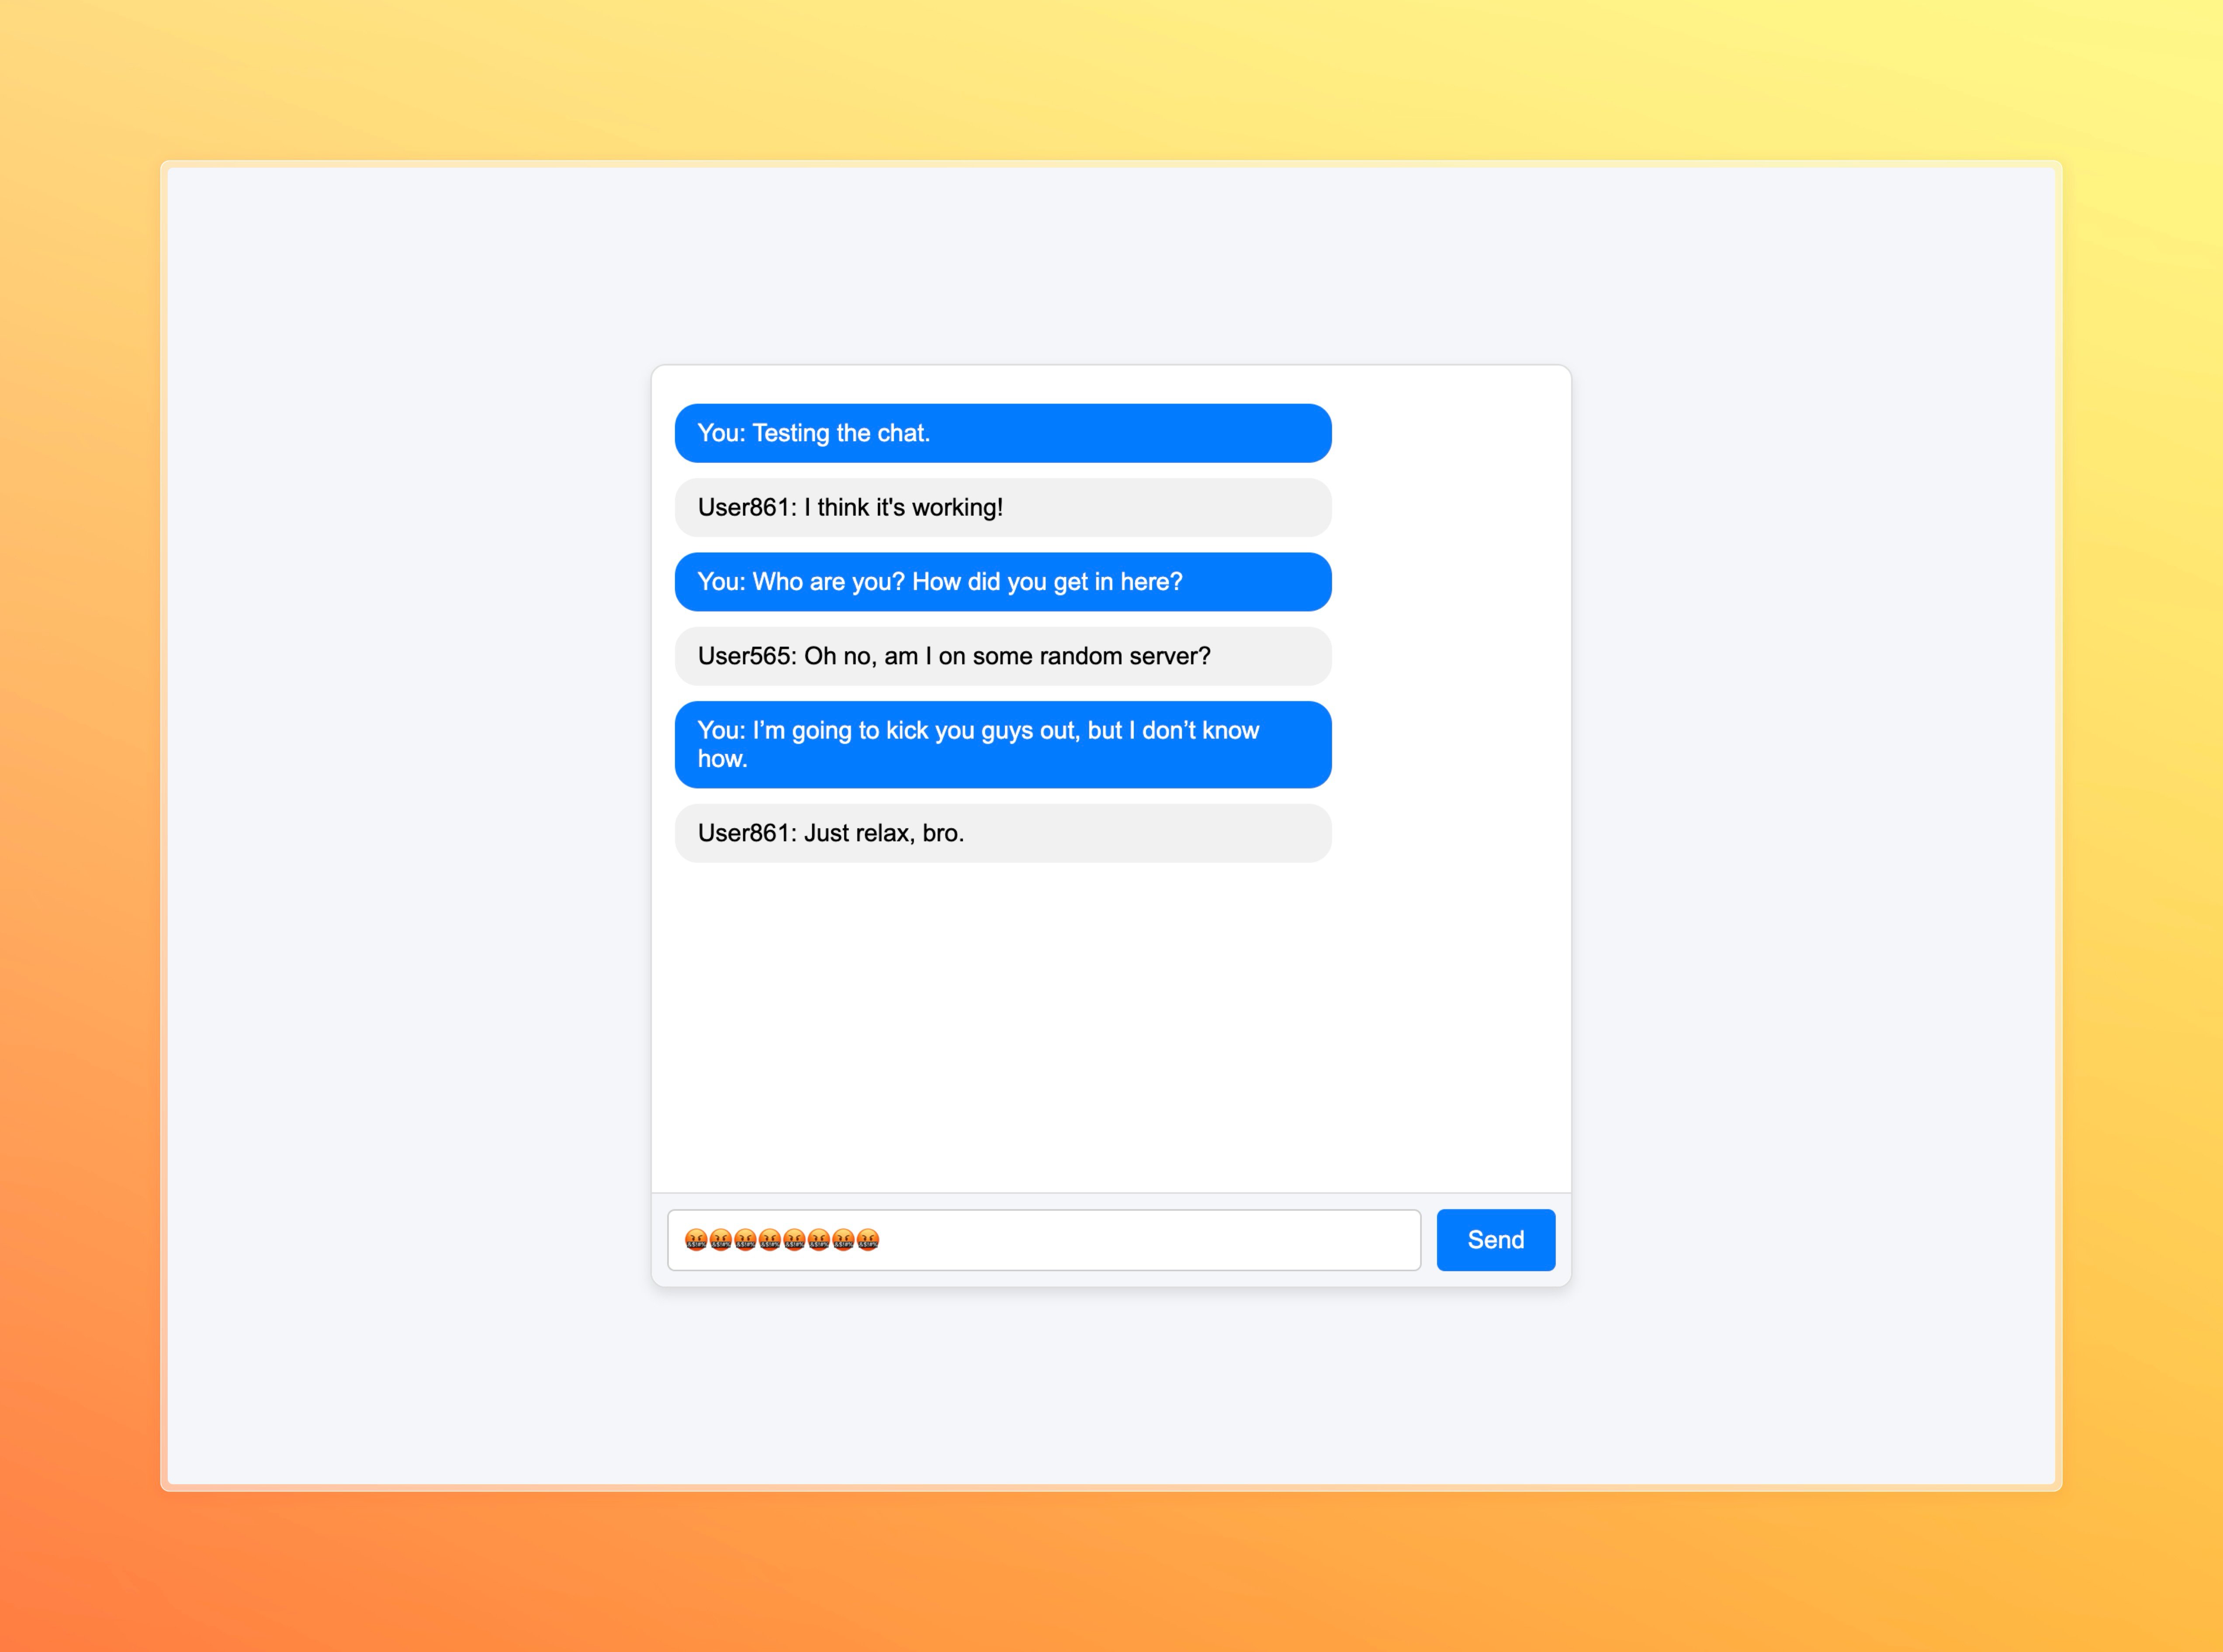
Why Upstash Redis?
- Scalability: Handles large volumes of messages with minimal latency.
- Simplicity: Easy to set up with minimal configuration.
- Cost-Efficiency: Serverless model reduces operational costs.
Setup
1. Install the Required Libraries
Install Flask, Flask-SocketIO, and the Redis library by running:2. Create a Redis Database
Create a Redis database using the Upstash Console or Upstash CLI. Create a.env file in the root of your project with the following content:
Code
Now, it’s time to implement the chat application. We’ll create a Flask server that uses SocketIO for real-time communication. We’ll also configure the server to use Upstash Redis as the message queue.We need to use the
rediss:// protocol instead of redis:// to connect to Redis over TLS. This ensures secure communication between the server and the Redis instance.main.py
Code Explanation
- We initialized a Flask app and set a secret key for session management.
- We set up the Redis URL with TLS for secure communication.
- We initialize a SocketIO instance with the Flask app and configure it to use Redis as the message queue.
- We define WebSocket event handlers for
connect,disconnect, andmessageevents. - The
handle_messagefunction broadcasts the received message to all connected clients except the sender. - We define a route to serve the chat interface template.
chat.html
Running the Application
- Start the server:
- Open your web browser and go to
http://localhost:8000/.