

Automatic dev server (recommended)
If you are using@upstash/workflow, you can just set QSTASH_DEV=true in your environment, and the SDK will download and connect to the dev server automatically. No tokens or signing keys required.
.env
QSTASH_DEV=true set, both the workflow client and the serve() endpoint pick up the dev server automatically. The endpoint also verifies incoming signatures against the dev server’s deterministic signing keys, so signature verification works end-to-end with no extra setup.
registerQStashDev() helper for Next.js edge routes, see the QStash Local Development docs.
Manual setup
If you would rather start and manage the QStash dev server yourself, follow the steps below.1
Install and Start Development Server
Start the development server using the QStash CLI:The QStash CLI output will look something like this:For detailed instructions on setting up the development server, see our QStash Local Development Guide.
QStash CLI Output
2
Enable Local Mode on Console
Once you start the local server, you can go to the Workflow tab on Upstash Console and enable local mode, which will allow you to monitor and debug workflow runs with the local server.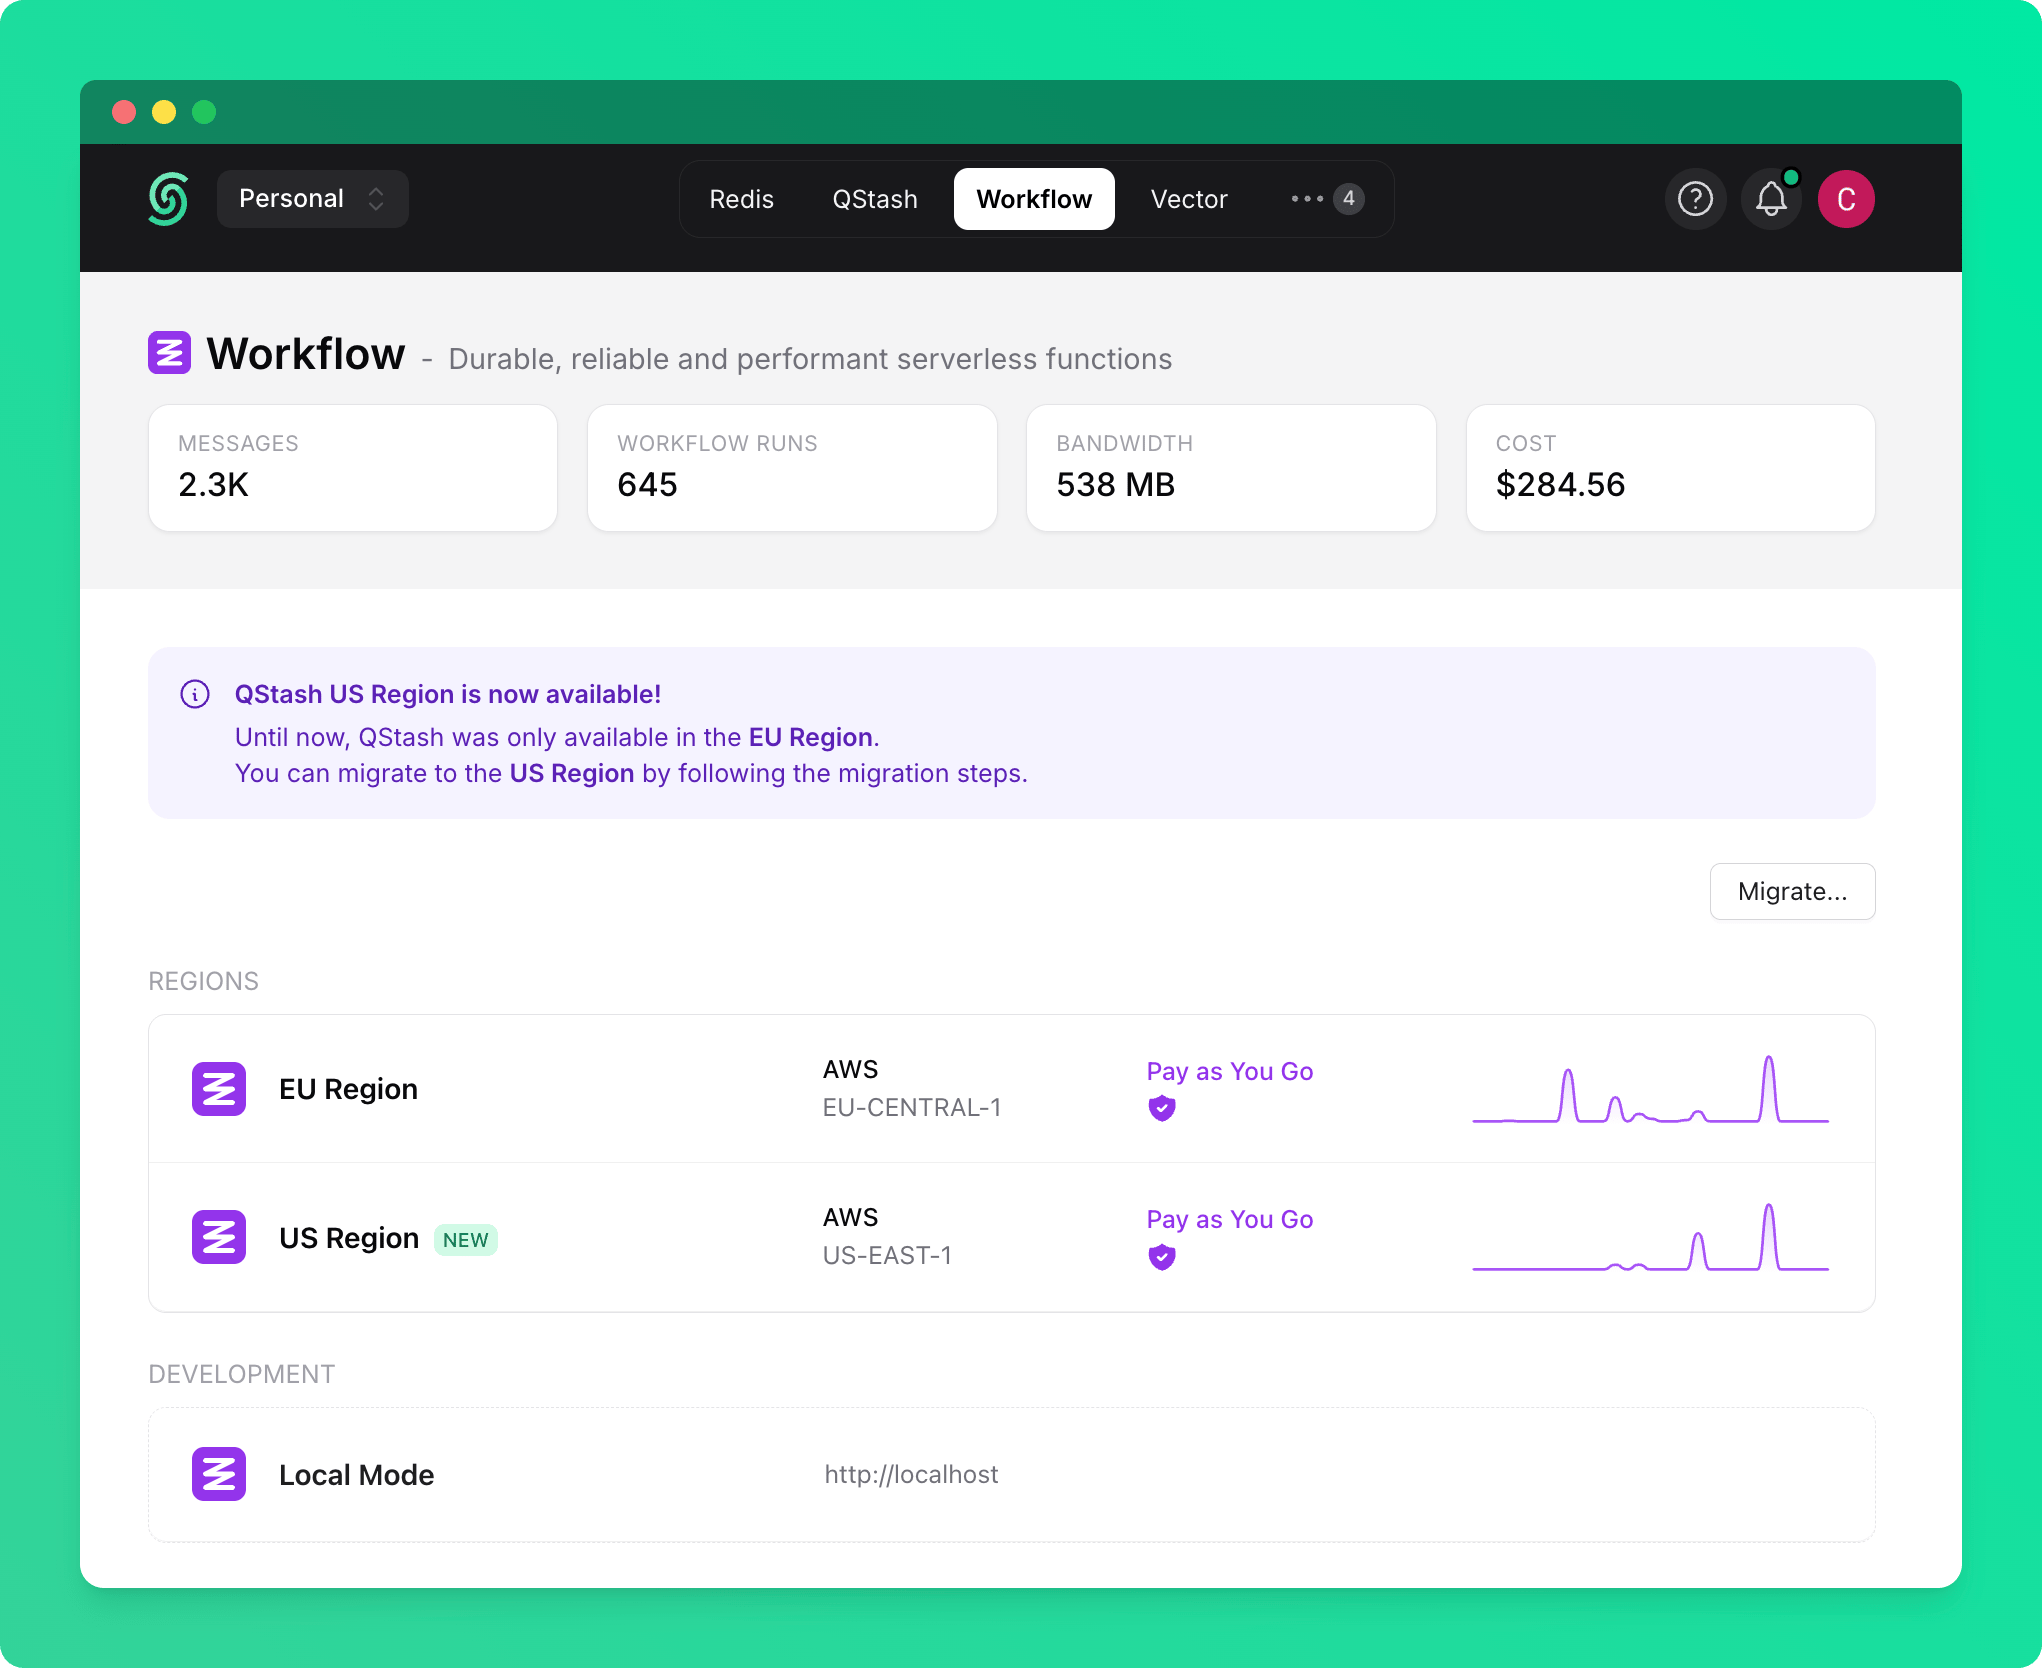
3
Update Environment Variables
Once your development server is running, update your environment variables to route QStash requests to your local server.
4
Use local addresses
It’s all set up 🎉Now, you can use your local address when triggering the workflow runs.